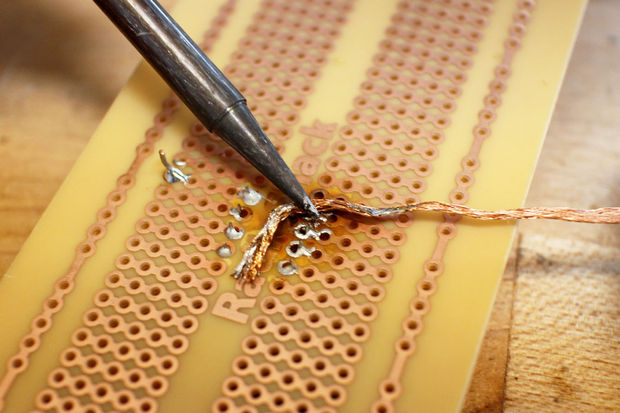
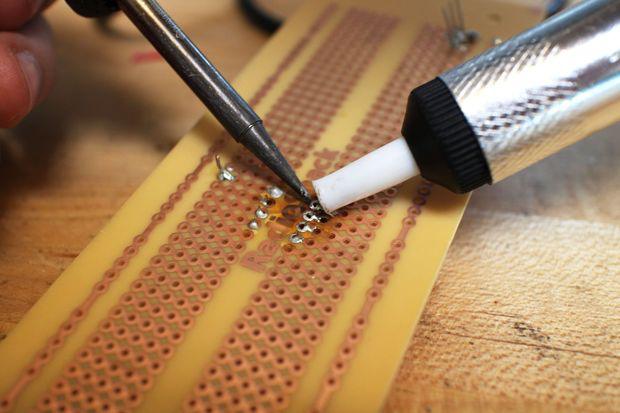
The components are adhere on the printed circuit boards through the use of soldering wire and soldering iron. However, some times the soldering is not properly done or the components are adhere at wrong place. At the time you are required to un-solder the component instantly to make the circuit working properly.
Techniques of Un-soldering Components
There are numerous techniques to un-solder components from the printed circuit boards. Some techniques are famous and are easy to be adopted while some techniques are very professional and costly. The most common technique is to un-solder the wrongly placed components through a sucker or de-soldering pump.
What is De-Soldering Pump?
A de-soldering pump is a machine which is used for removing the wrongly placed components from the printed circuit boards. The pump is working on the principle of high pressure vacuum.

The Mechanism of De-Soldering Through Sucker or De-Soldering Pump
The following are the major steps to de-solder components from the printed circuit boards through de-soldering pump which is also known as sucker.
- First of all you are required to heat up the soldering wire of the component which you need to de-solder. For this you can place the soldering iron near the wire or some pumps are having built-in iron in them.
- The next step is to press down the plunger of the pump.
- Third step is to place the mouth of the pump near the melted soldering wire of the component you want to de-solder.
- Now, press the button of the plunger, it will suck the melted soldering wire present on the board through pressure mechanism.

- Now you can scratch the component and remove it from the printed circuit board.
Pros and Cons of Using De-Soldering Pump
One of the biggest advantage of de-soldering pump is that they are cheap and require less effort to remove required components. The disadvantage is that sometimes the nozzle of the pump is melted and don’t work properly.
Comments
Post a Comment